Tri clamps, also known as tri-clover fittings or sanitary fittings, are widely used in various industries to create secure and leak-proof connections between pipes, valves, and other equipment. Installing and removing tri clamp properly is crucial for ensuring efficient pipe connections and preventing leaks or contamination. In this guide, we will discuss the step-by-step process of installing and removing tri clamps, along with some important considerations.
Understanding Tri Clamps And Their Components
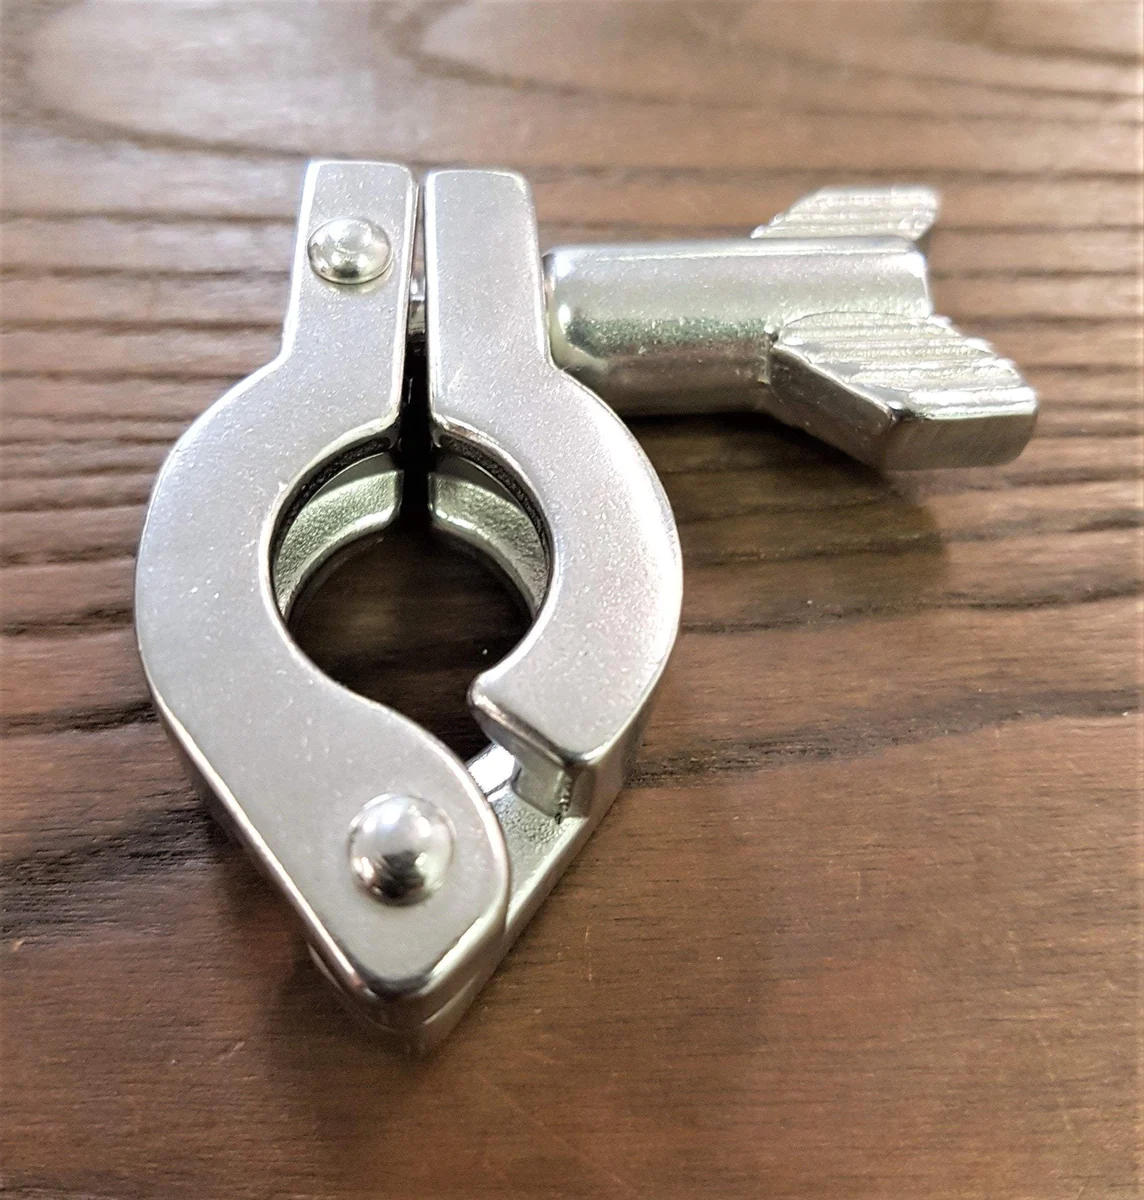
Before we dive into the installation and removal process, it’s important to have a basic understanding of the components of a tri clamp. The main components include:
Tri Clamp: This is the main clamp that holds the connection together. It consists of two ferrules and a gasket.
Ferrules: Ferrules are circular rings that fit over the ends of the pipes and are held in place by the tri clamp.
Gasket: The gasket is a flexible sealing material placed between the two ferrules to create a tight seal when the tri clamp is tightened.
Installing Tri Clamps
Proper installation of tri clamps is crucial for achieving secure and leak-proof connections. Here’s a step-by-step guide to installing tri clamps:
Prepare the Pipes: Ensure that the ends of the pipes to be connected are clean and free from any debris, dirt, or residue.
Place the Gasket: Take the gasket and place it on one of the ferrules. Make sure the gasket is properly aligned with the ferrule and covers the entire inner diameter.
Position the Ferrules: Slide one ferrule onto each pipe end, ensuring that the gasket is sandwiched between the two ferrules.
Align the Pipes: Bring the two pipes together so that the ferrules meet and align properly. Make sure the pipes are centered and parallel to each other.
Secure the Tri Clamp: Take the tri clamp and place it over the ferrules. Align the notches on the tri clamp with the notches on the ferrules. Tighten the clamp by turning the wing nut or bolt clockwise until it is snug.
Removing Tri Clamps
Proper removal of tri clamps is equally important to prevent damage to the equipment and ensure safe disconnection. Follow these steps to remove tri clamps:
Loosen the Clamp: Locate the wing nut or bolt on the tri clamp and turn it counterclockwise to loosen the clamp. Make sure to loosen it enough to release the pressure, but do not remove it completely.
Separate the Ferrules: Once the clamp is sufficiently loosened, gently separate the ferrules by pulling the pipes apart. Be cautious not to apply excessive force or twist the pipes, as it may damage the equipment or cause spills.
Clean and Inspect: After removing the tri clamp, clean the ferrules, gasket, and pipes thoroughly to remove any residue or contaminants.
Important Considerations
To ensure efficient pipe connections and maximize the lifespan of tri clamps, keep the following considerations in mind:
Proper Torque: When tightening the tri clamp, apply sufficient torque to create a tight seal, but avoid over-tightening, as it can damage the gasket or distort the ferrules.
Regular Maintenance: Inspect tri clamps periodically for signs of wear, corrosion, or damage. Replace any worn-out or damaged components promptly to maintain the integrity of the connections.
Training and Safety: Ensure that personnel involved in the installation and removal of tri clamps receive proper training on the procedures and safety precautions. This will help prevent accidents, injuries, and equipment damage.
Congrats! You’ve Completed This Blog. 👏